Injecting a pod-delete fault into a Pod
A pod-delete fault is a fault injection experiment that intentionally deletes Kubernetes pods to test the resilience and self-healing capabilities of the system. In this tutorial, you will inject a pod-delete fault into the podtato-head-hat pod of the sample microservices application, podtato-head, and check if the pod remains available during the chaos.
What is Podtato-head?
Podtato-head is a sample application provided by the CNCF designed for practicing Kubernetes and cloud-native environments. This application is composed of several microservices, including frontend, hat, left/right-arm, and left/right-leg. It serves as an environment for experimenting with fault recovery capabilities and testing the system resilience.
Prerequisites
- Kubernetes 1.18 or later (minimum 2 vCPUs, 8GB RAM, 10GB disk space)
- A Persistent volume of 20GB
- Kubectl installed on your system
- ChaosCenter installed on your system. You can follow the Getting Started guide to install it.
Step 1: Install Podtato-head
- Run the command below to create a
podtato-kubectlnamespace and installpodtato-headin it using the manifest file:
kubectl apply -f https://github.com/podtato-head/podtato-head-app/releases/download/v0.3.3/manifest.yaml
- Run the command below to label the
podtato-head-hatdeployment in thepodtato-kubectlnamespace:
kubectl label deployment podtato-head-hat app=podtato-head-hat -n podtato-kubectl
Adding a label allows you to specifically target the pod during a Chaos experiment.
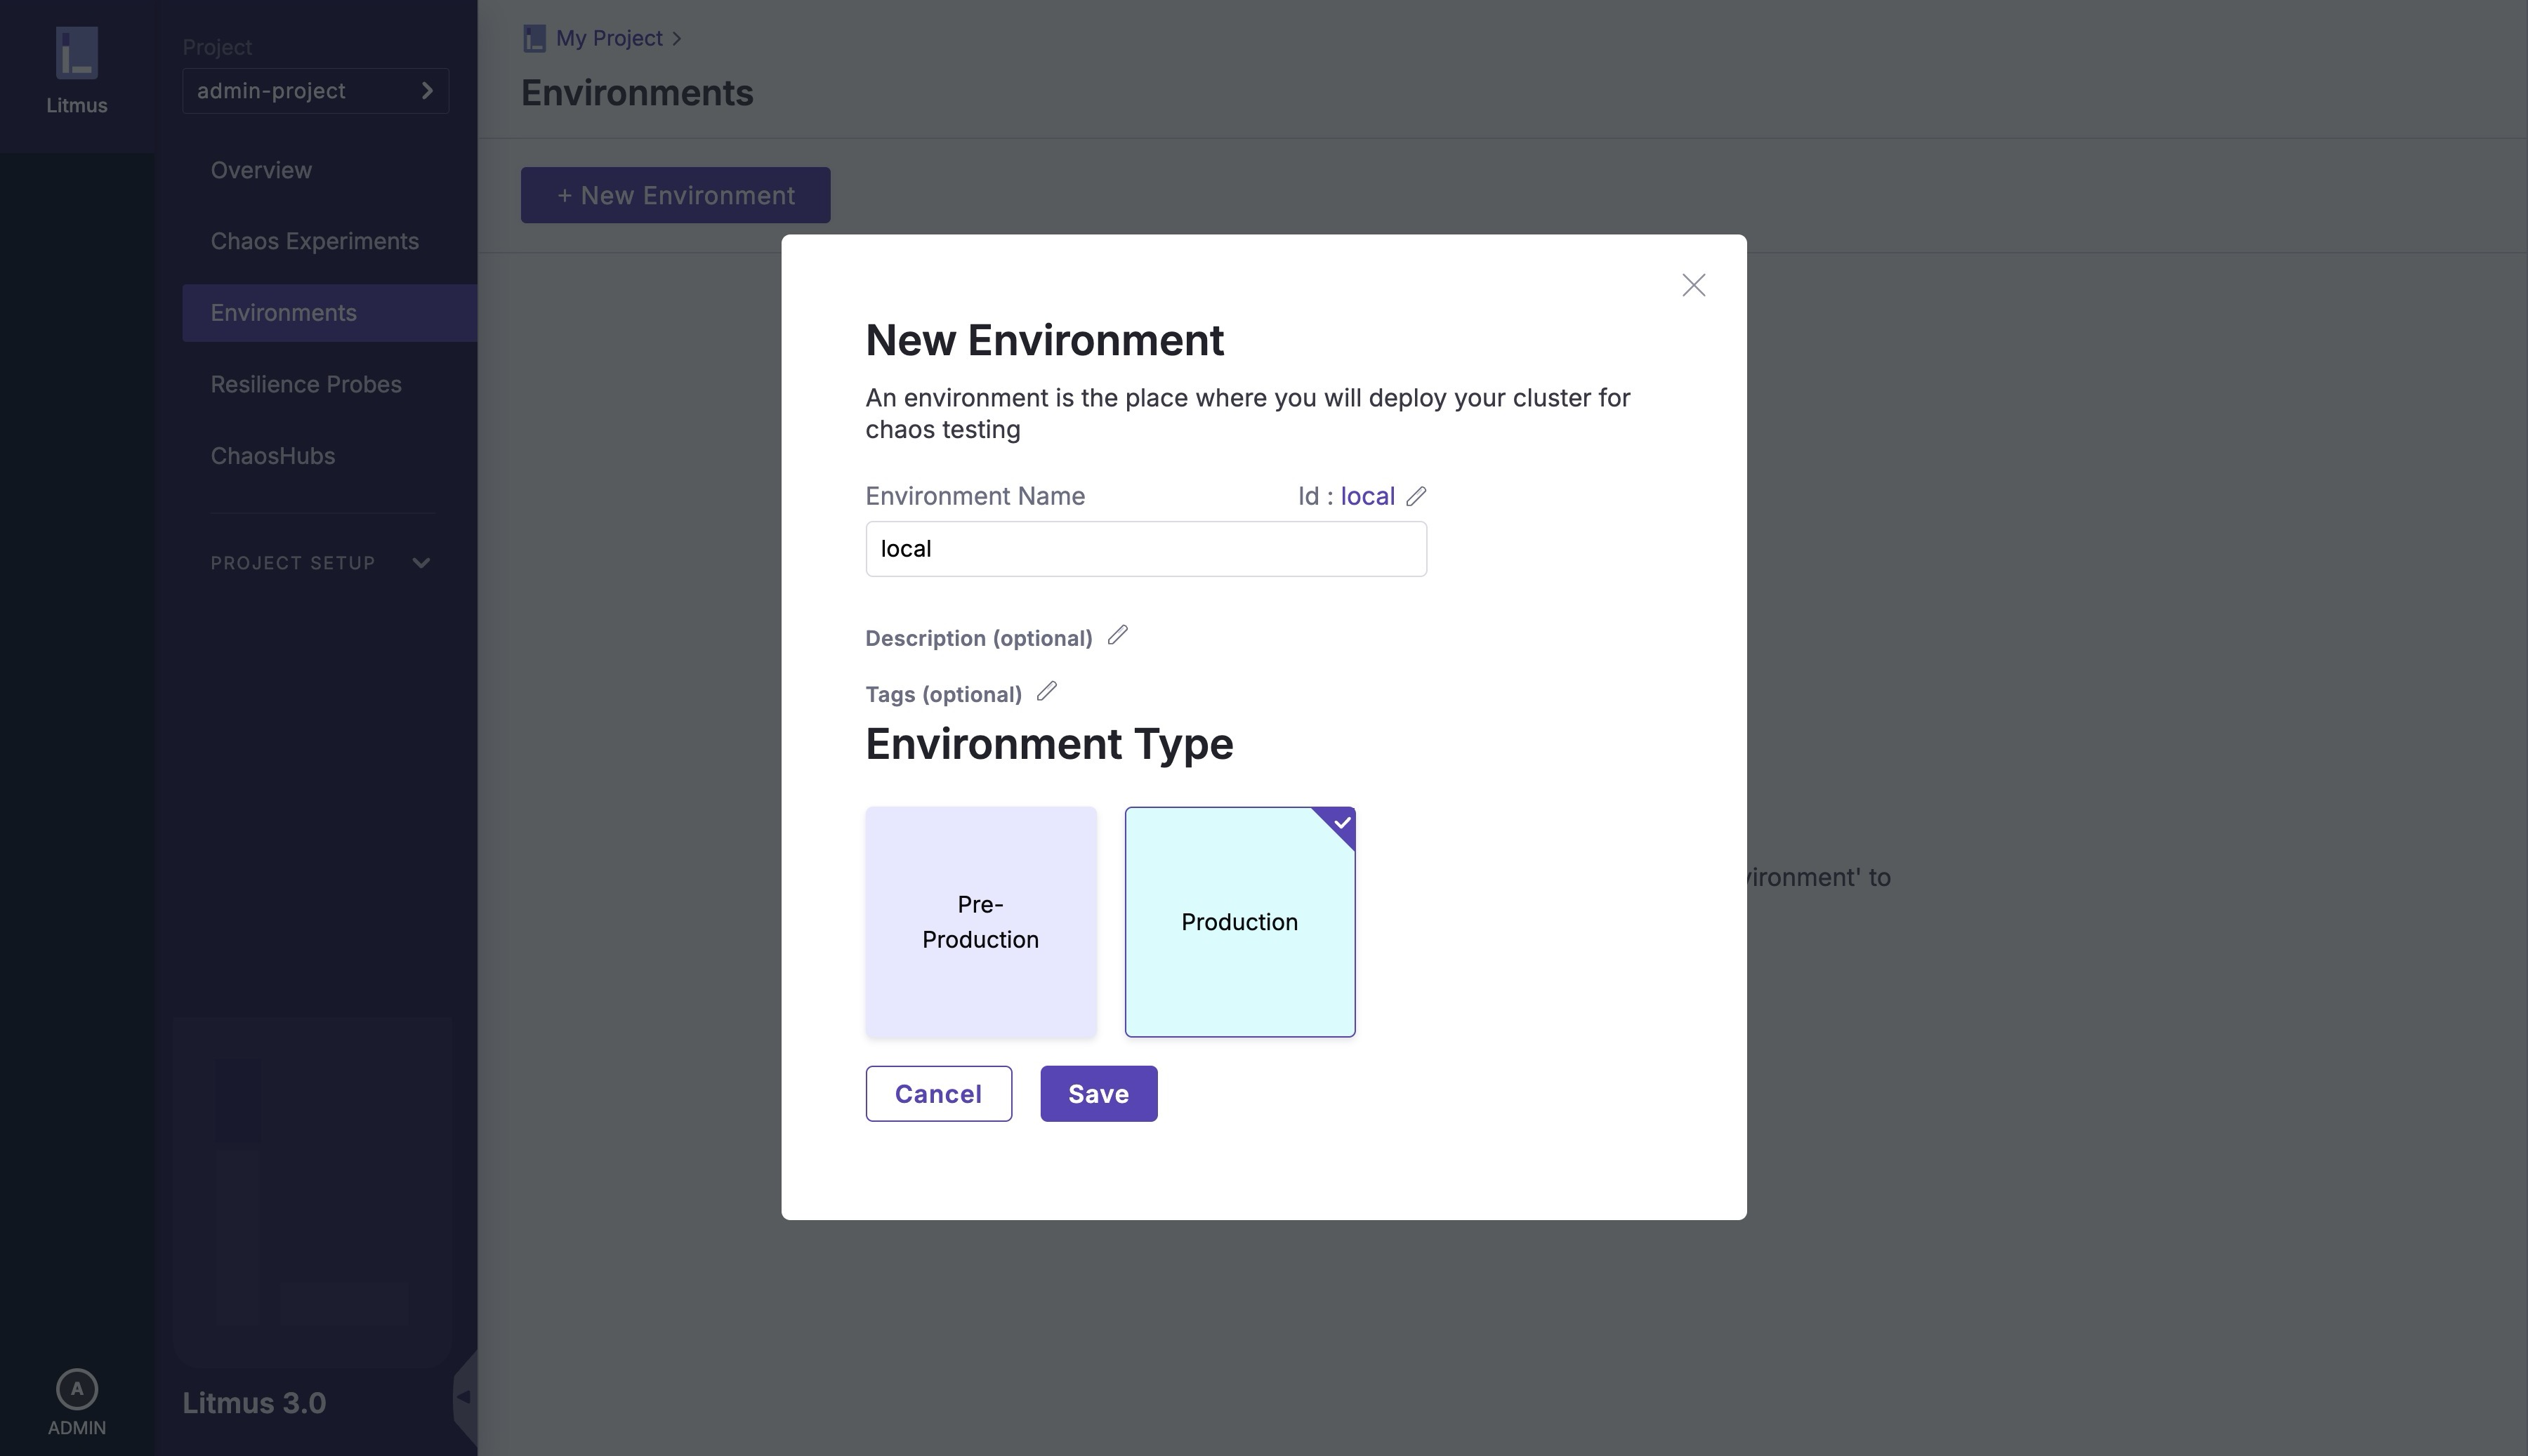
Step 2: Set up Environment
- On your ChaosCenter dashboard, navigate to "Environments" and create a new environment with the following details:
- Environment Name:
local - Environment Type:
Production
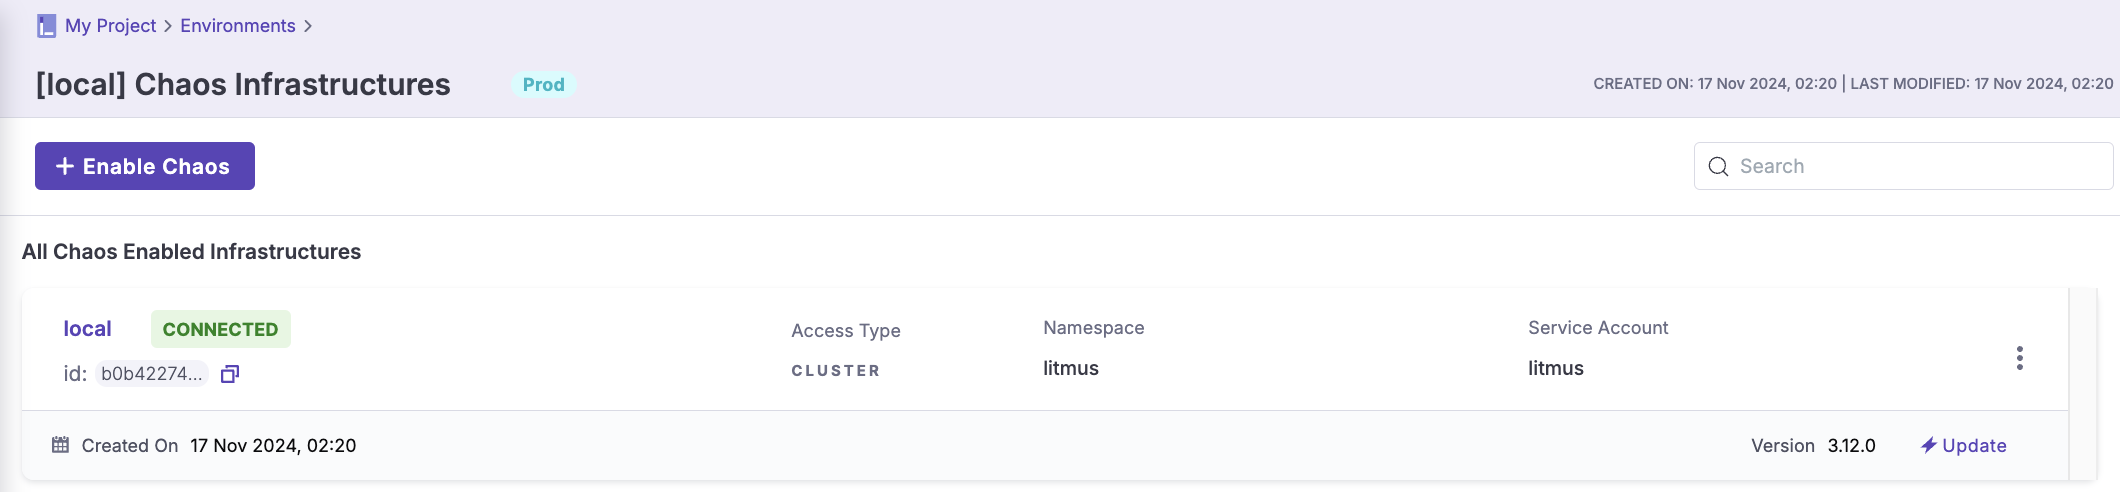
Step 3: Enable Chaos Infrastructure in your Environment
- Configure a new chaos infrastructure with the following details:
- Name:
local - Chaos Components Installation:
Cluster-wide access - Installation Location (Namespace):
litmus - Service Account Name:
litmus
- Deploy the new chaos infrastructure by running:
kubectl apply -f local-litmus-chaos-enable.yml
- Wait until the status changes to
CONNECTED
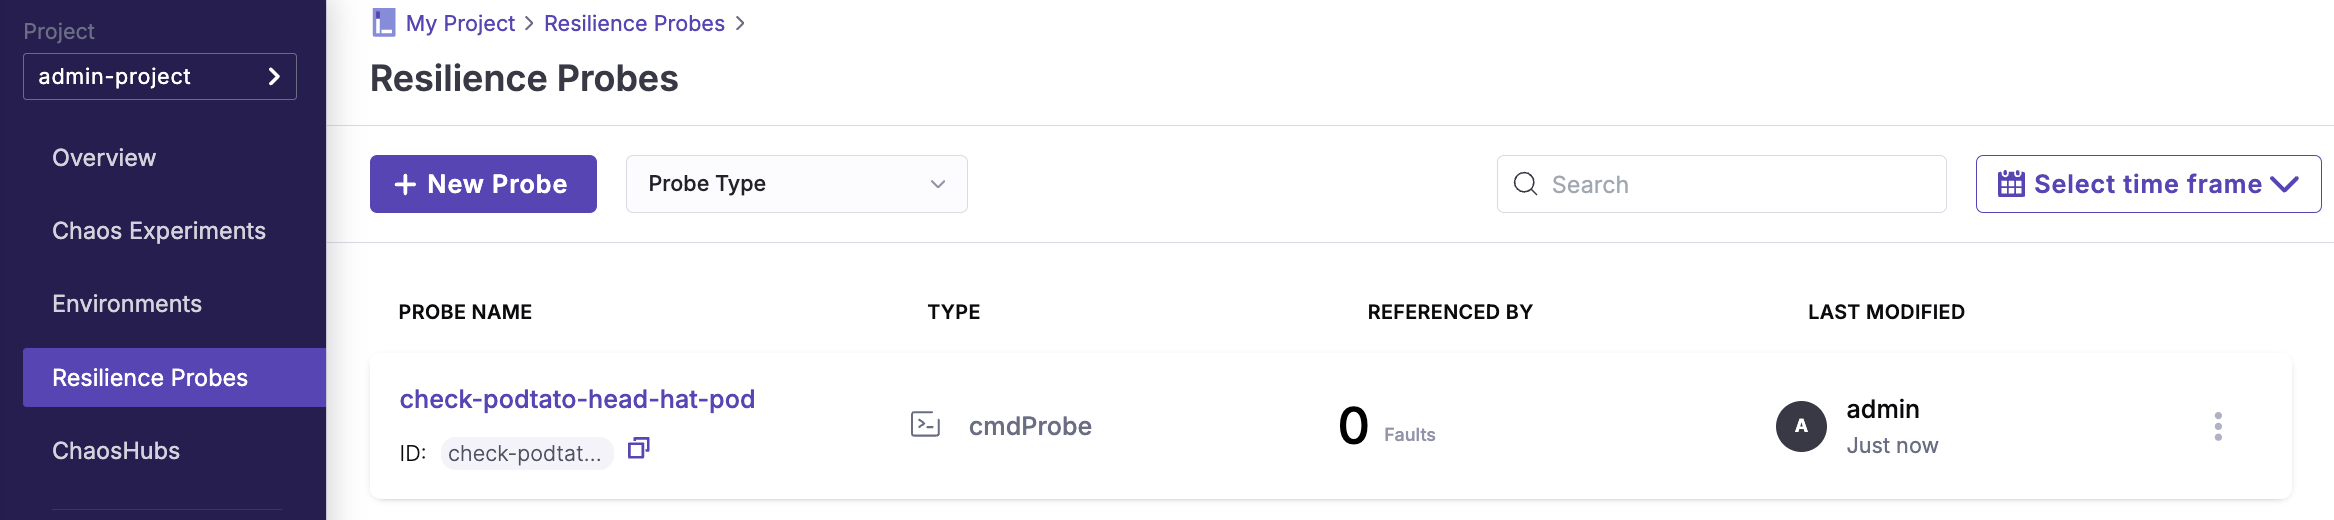
Step 4: Set up Resilience Probe
You need to set up a resilience probe to automatically verify whether the pod remains operational after a fault is injected. For this tutorial, you will use a command-based probe because it allows you to run a specific shell command that checks the status of the target resource (in this case, ensuring the podtato-head-hat pod is running).
Select CMD Probe as the probe type
Configure the probe properties and details with the following:
- Name:
check-podtato-head-hat-pod - Timeout:
10s - Interval:
1s - Attempt:
1 - Command:
kubectl get pods -n podtato-kubectl | grep podtato-head-hat | grep Running | wc -l - Type:
Int - Comparison Criteria:
> - Value:
0
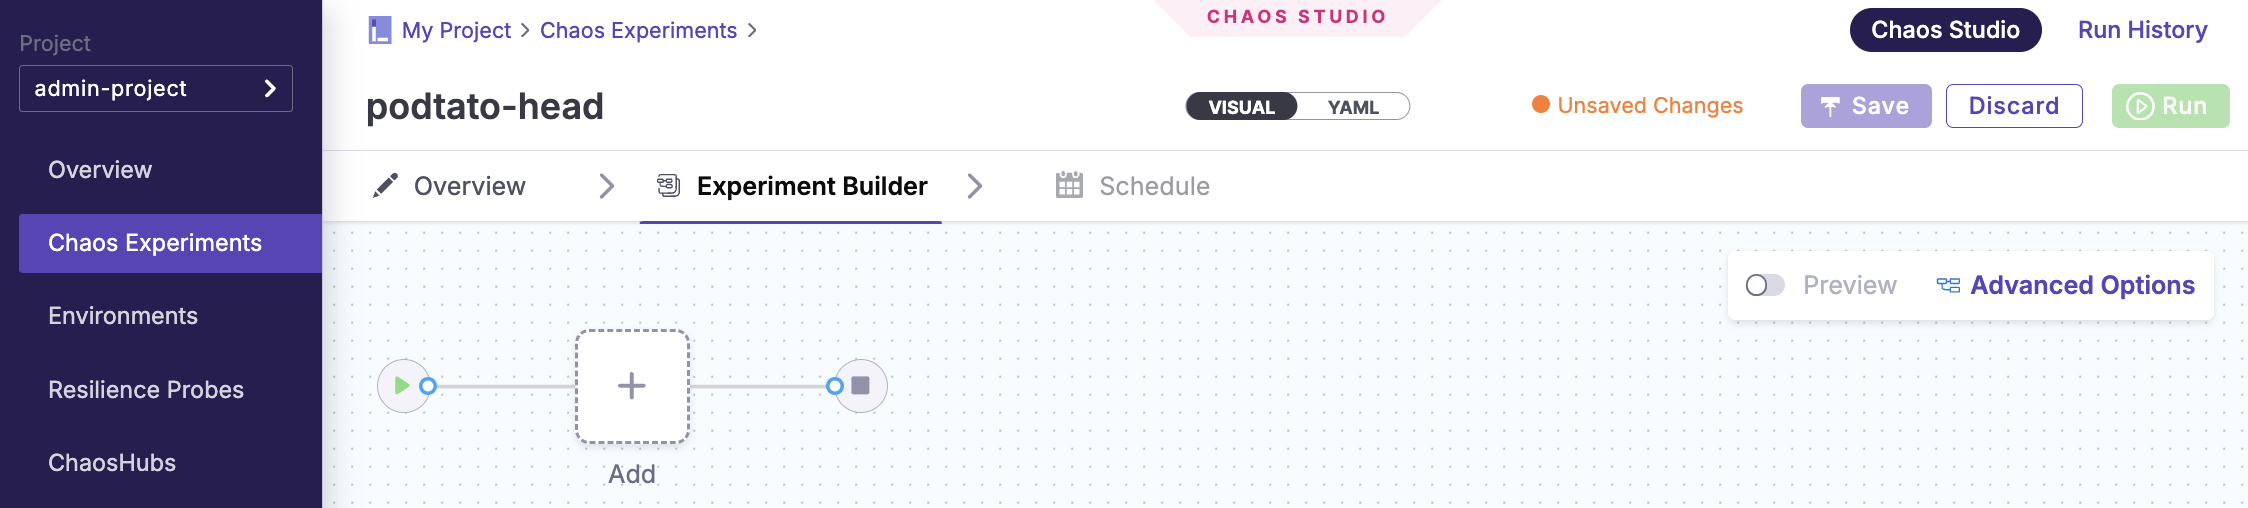
Step 5: Run Chaos Experiment
- Start a new chaos experiment
- Name:
podtato-head - Chaos Infrastructure:
local - Builder Type:
Blank Canvas
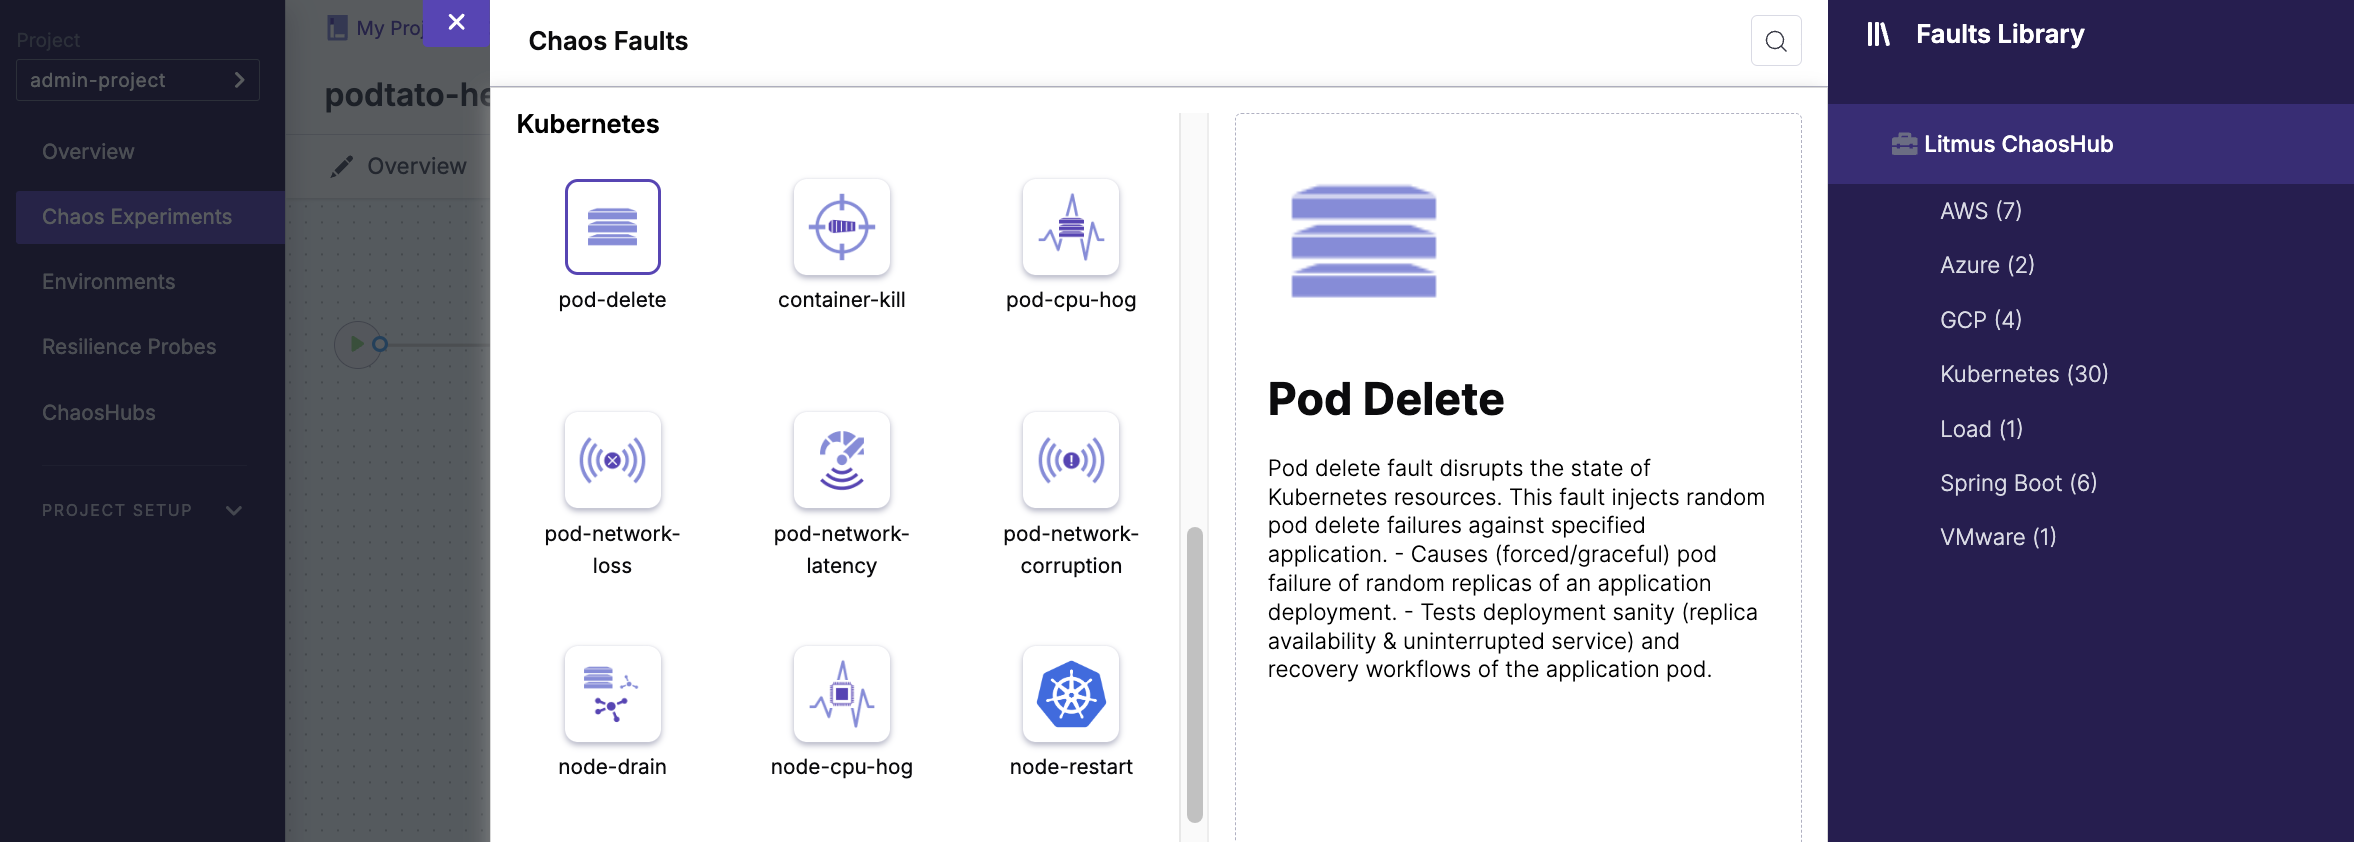
- Add the
pod-deletechaos fault
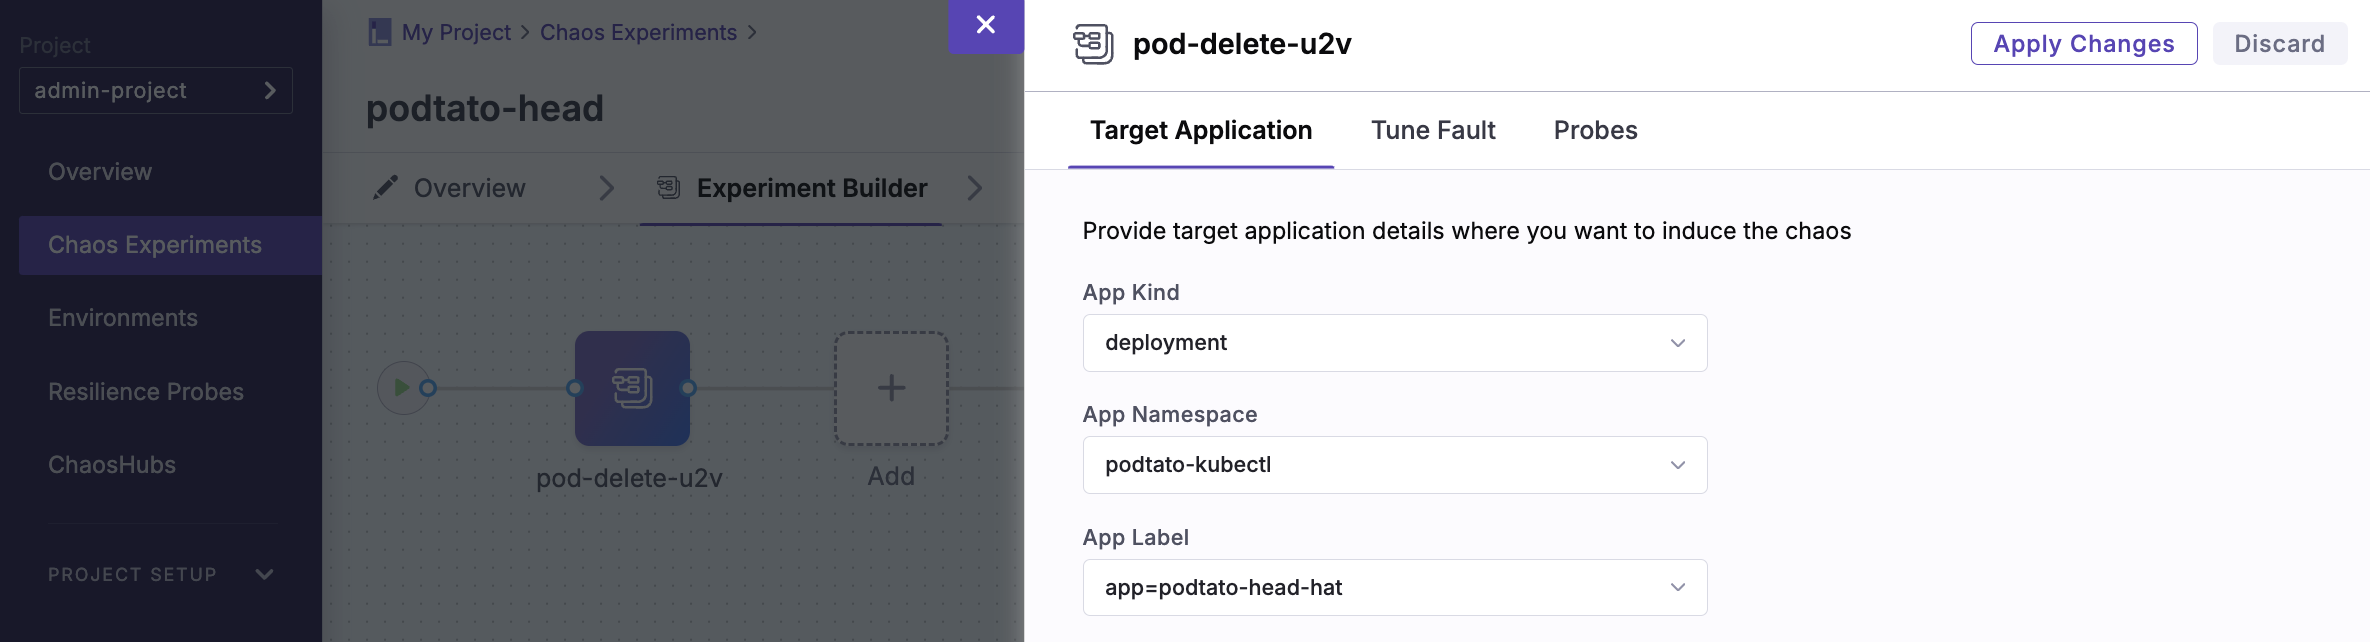
- Select the target application for the
pod-deletechaos fault
- App Kind:
deployment - App Namespace:
podtato-kubectl - App Label:
app=podtato-head-hat
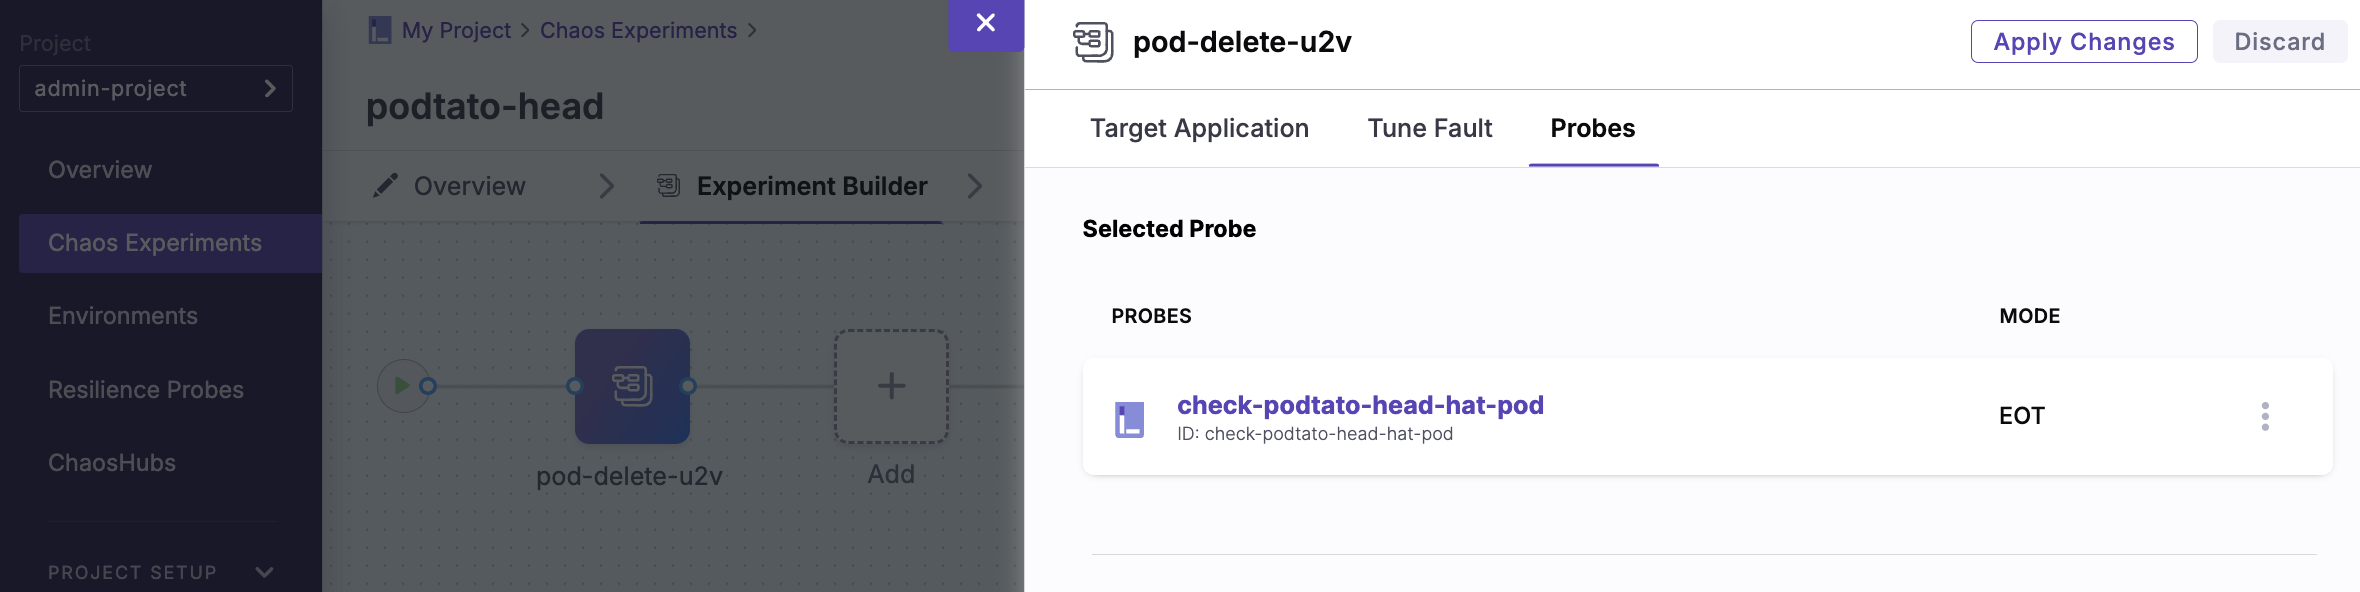
- Add the probe to the
pod-deletechaos fault
- Probe Name:
check-podtato-head-hat-pod - Mode:
EOT
- Save and run the chaos experiment
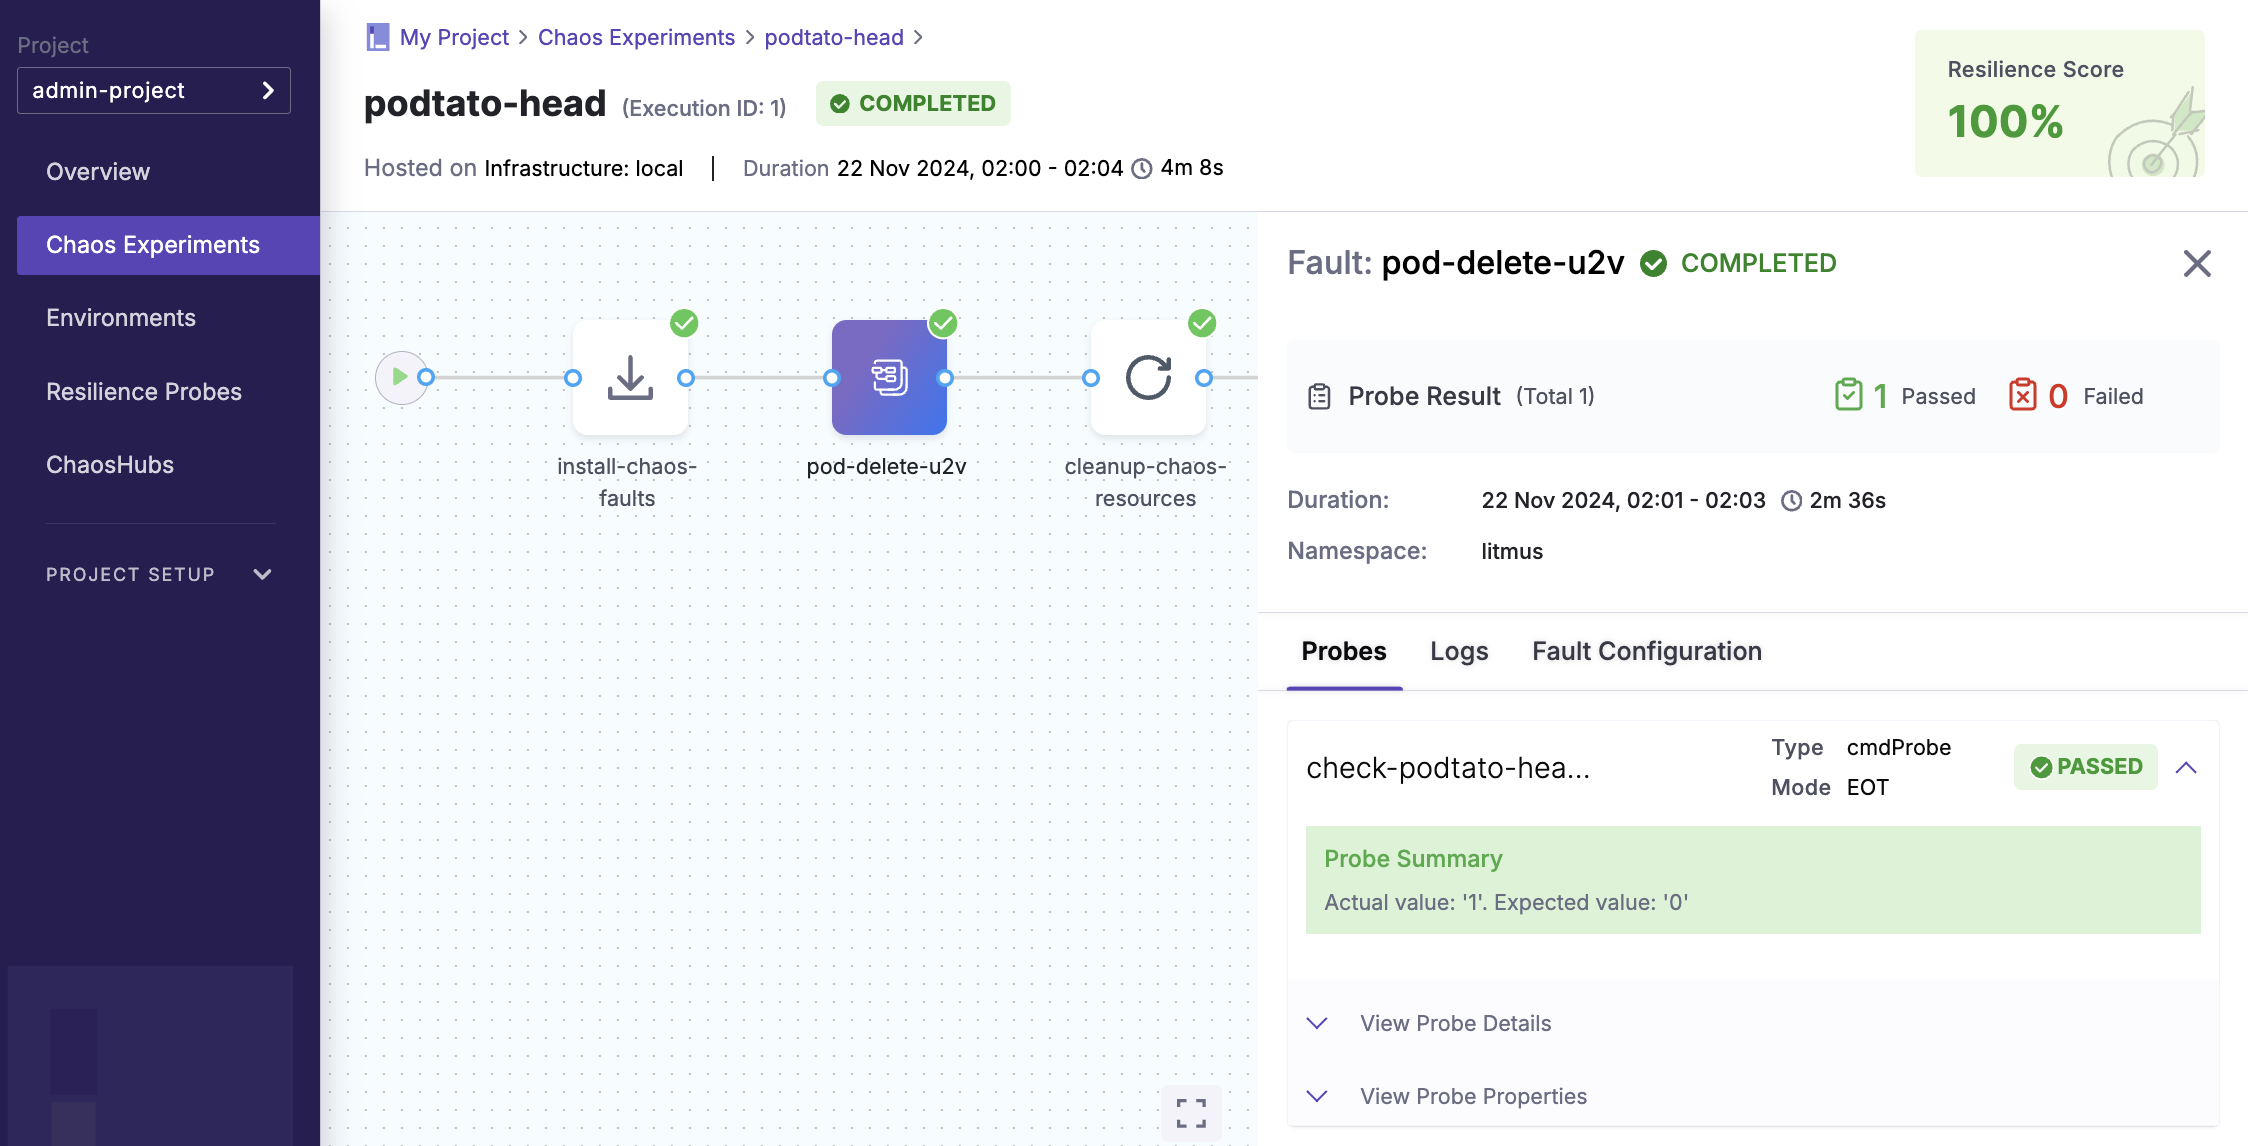
Conclusion
- Experiment Status:
COMPLETED - Resilience Score:
100% - Probe Result:
PASSED
Congratulations! 🎉 You've successfully completed the tutorial.
Continue exploring more tutorials to enjoy your journey with LitmusChaos! 🚀